As the leaves begin to turn and the temperatures drop, gardeners know it’s time to prepare for the upcoming spring by planting fall bulbs. Whether you’re new to gardening or simply looking to expand your skills, this step-by-step guide will help you successfully plant bulbs this fall for a beautiful spring bloom. From choosing the right bulbs to ensuring they survive the winter, we’ve got you covered.
Imagine the joy of seeing your garden burst into life after the long winter, a vibrant display of tulips, daffodils, and hyacinths, all because of the simple steps you took this fall. These moments of joy and connection with nature are what make gardening so rewarding.
This site contains affiliate links. I may earn a small commission, at no extra cost to you.
Step 1: Choosing the Right Bulbs
Selecting the right bulbs is the first and most crucial step. Fall bulbs are those planted in autumn and bloom in the spring. Popular choices include tulips, daffodils, hyacinths, and crocuses. When choosing bulbs, look for those that are firm and free from mold or damage. A healthy bulb is key to a vibrant bloom.
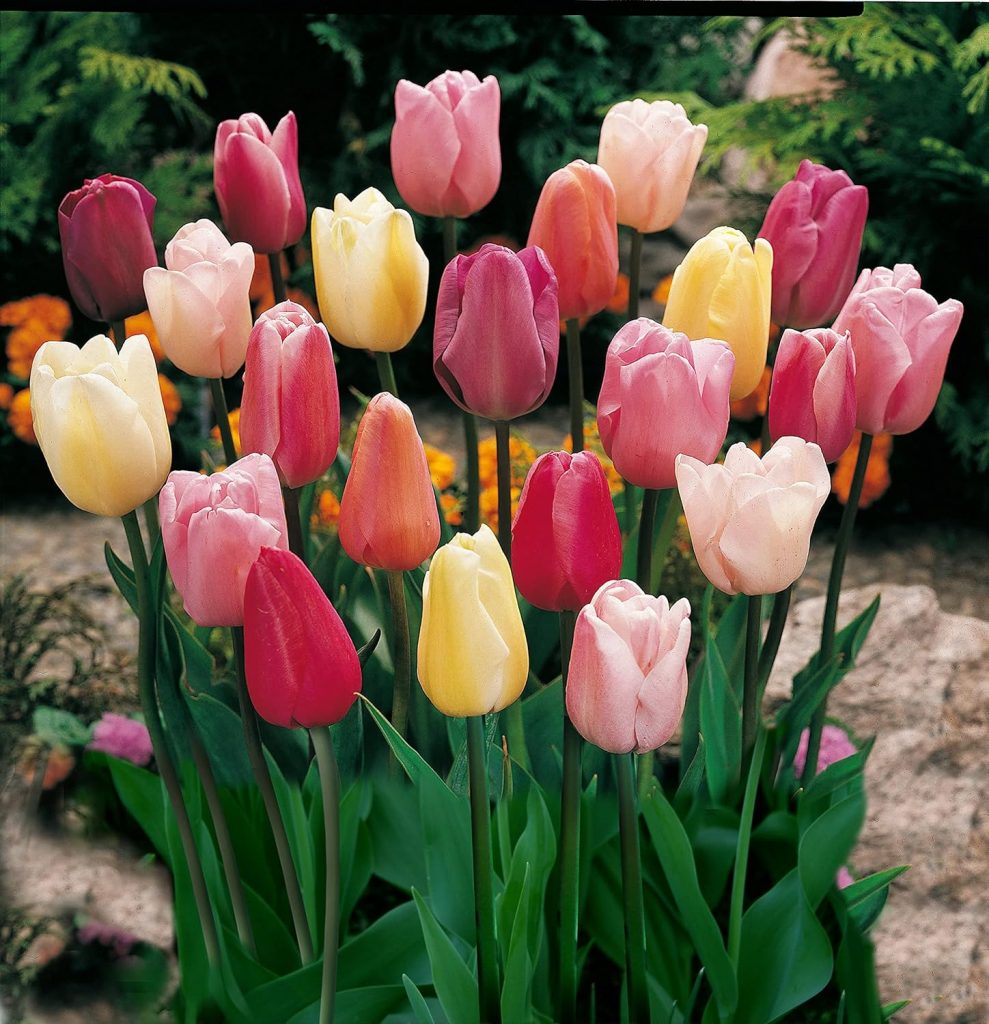
Consider adding a touch of magic to your garden with these premium tulip bulbs, carefully selected for their vibrant colors and hardiness. Imagine the excitement of your family as the first blooms appear, a testament to your nurturing care.
Step 2: Find the Perfect Spot
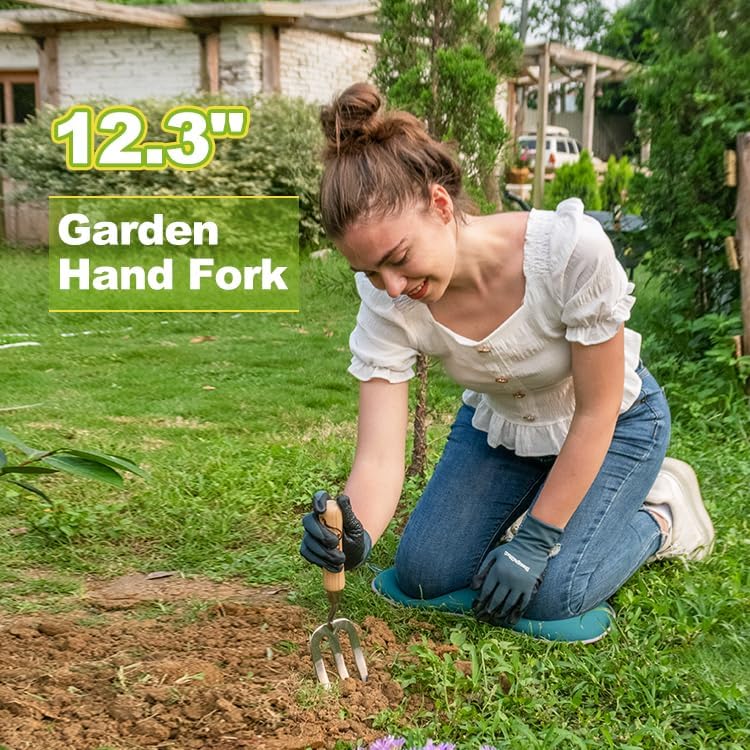
The location of your bulbs is vital to their success. Most spring-flowering bulbs require a sunny location to thrive, though they can tolerate partial shade. Ensure that the soil is well-drained, as bulbs can rot in waterlogged conditions. Preparing the soil is also crucial—loosen it with a garden fork and remove any weeds or debris that could impede growth.
Need to prep your garden bed? This high-quality garden fork is perfect for loosening soil and ensuring your bulbs have the best start. It’s the kind of tool that becomes a trusted companion in your gardening journey.
Step 3: Planting the Bulbs
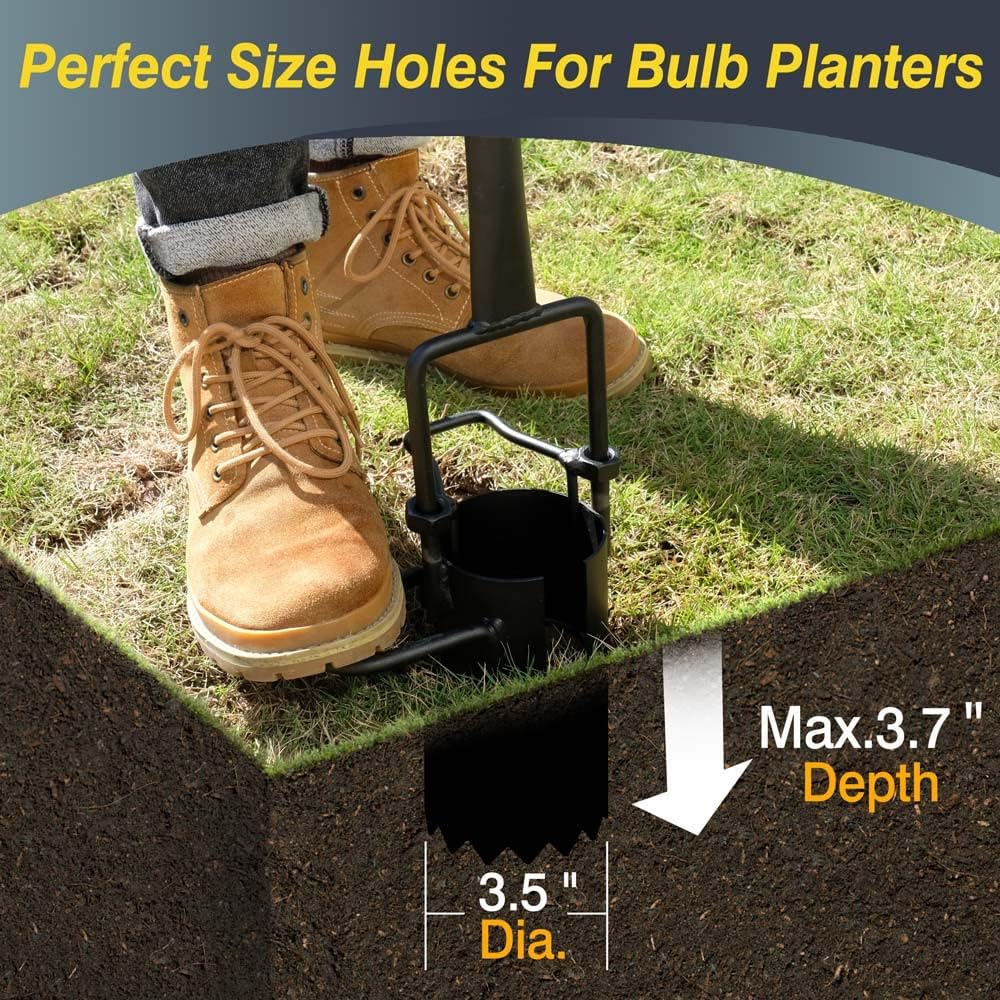
Now that you’ve chosen your bulbs and prepared the location, it’s time to plant! The general rule is to plant bulbs at a depth of about three times their height. This depth ensures that the bulbs are well-insulated from the winter cold. The spacing between bulbs is also important—crowded bulbs may compete for nutrients, resulting in weaker blooms.
Planting bulbs is not just a task; it’s a moment of hope and anticipation. To make the process easier, consider using this bulb planter from Amazon. It’s designed to help you plant bulbs at the perfect depth, ensuring that each one has the best chance to grow into a beautiful flower.
Step 4: Mulching and Watering
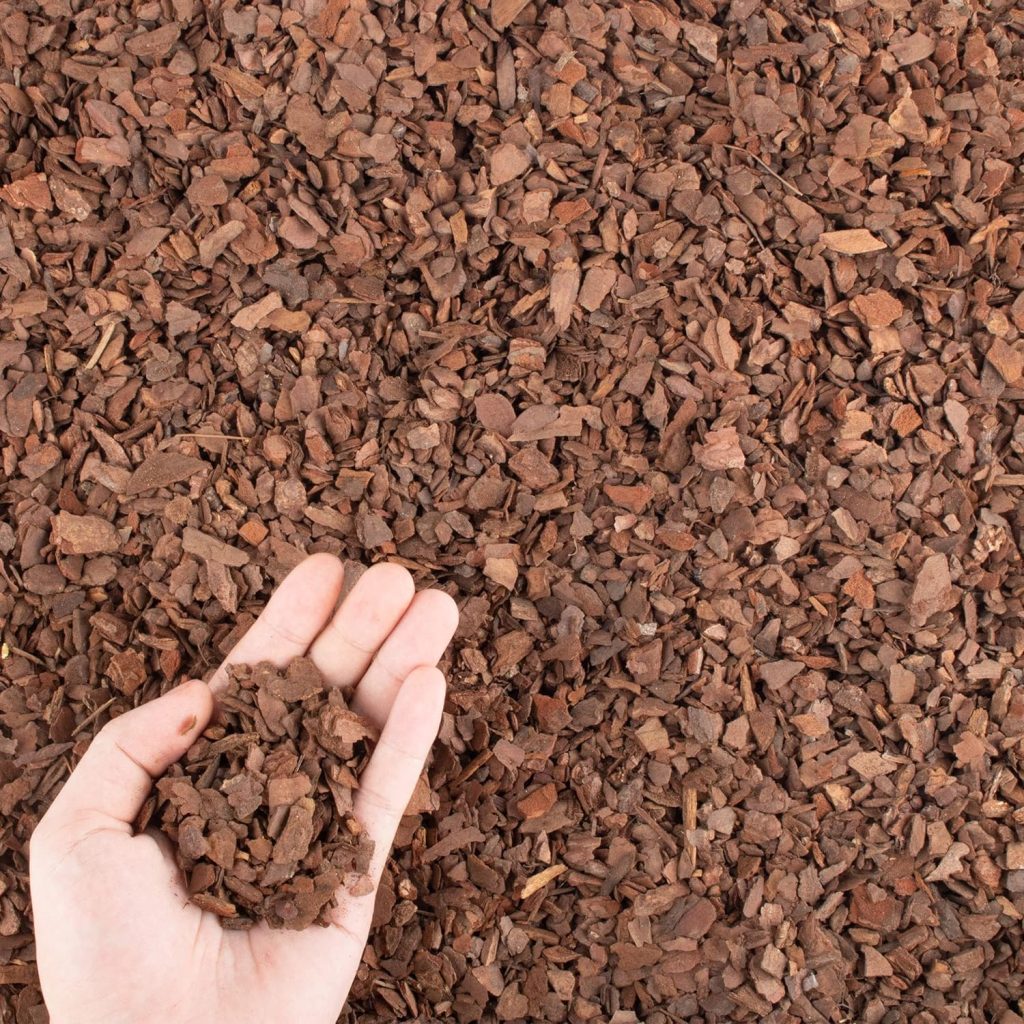
Mulching is a vital step that helps protect your bulbs through the winter months. A layer of mulch helps retain moisture, regulates soil temperature, and prevents weed growth. After planting, apply a 2-3 inch layer of organic mulch, such as straw, shredded leaves, or bark chips.
Taking the time to mulch your bulbs is like tucking them in for the winter. This natural bark mulch from Amazon is ideal for insulating your bulbs and giving them the protection they need to thrive come spring.
Step 5: Fertilizing for Stronger Growth
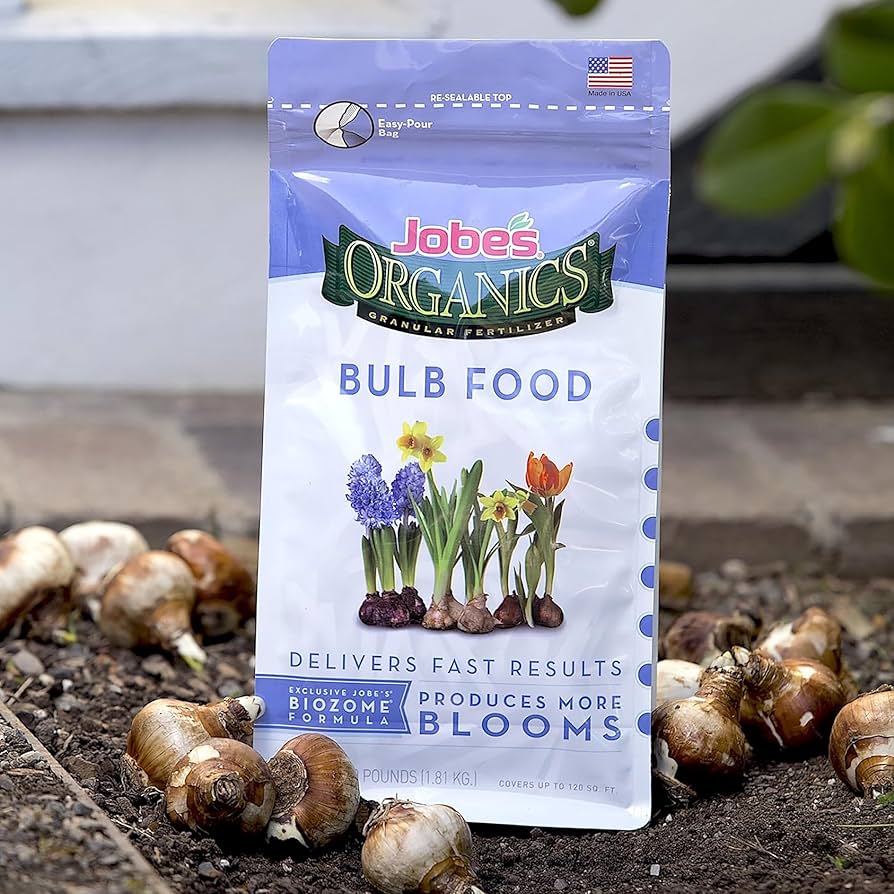
Fertilizing your bulbs ensures they have the nutrients needed to grow strong and produce vibrant flowers. Use a balanced, slow-release fertilizer when planting and again in early spring as the bulbs start to grow. This helps sustain their growth and gives them the energy needed for a spectacular bloom.
Consider using this organic bulb fertilizer from Amazon, specially formulated to promote healthy root development and stunning blooms. By giving your bulbs the nutrients they need, you’re setting the stage for a beautiful and successful garden.
Get in Touch – We’re Here to Help Your Garden Grow!
Step 6: Staggering Planting Times for Continuous Blooms
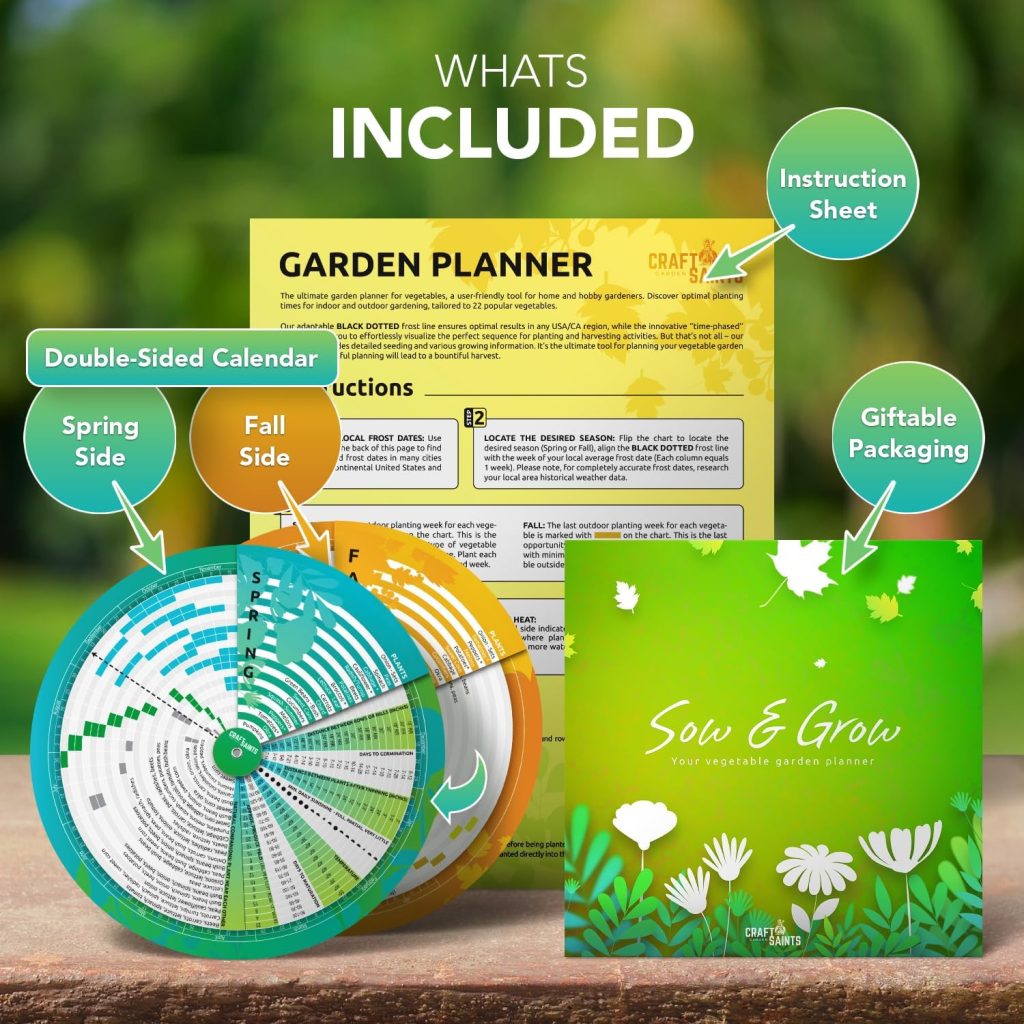
To enjoy a longer blooming season, consider staggering your bulb planting times. Some bulbs bloom early in the season, while others take longer. By planting different varieties at different times, you can extend the flowering period and keep your garden colorful for longer.
Imagine your garden continuously blooming from early spring to late spring, thanks to carefully planned bulb planting. Use this planting calendar from Amazon to keep track of your planting schedule and ensure you enjoy a vibrant garden all season long.
Step 7: Marking Your Planting Spots
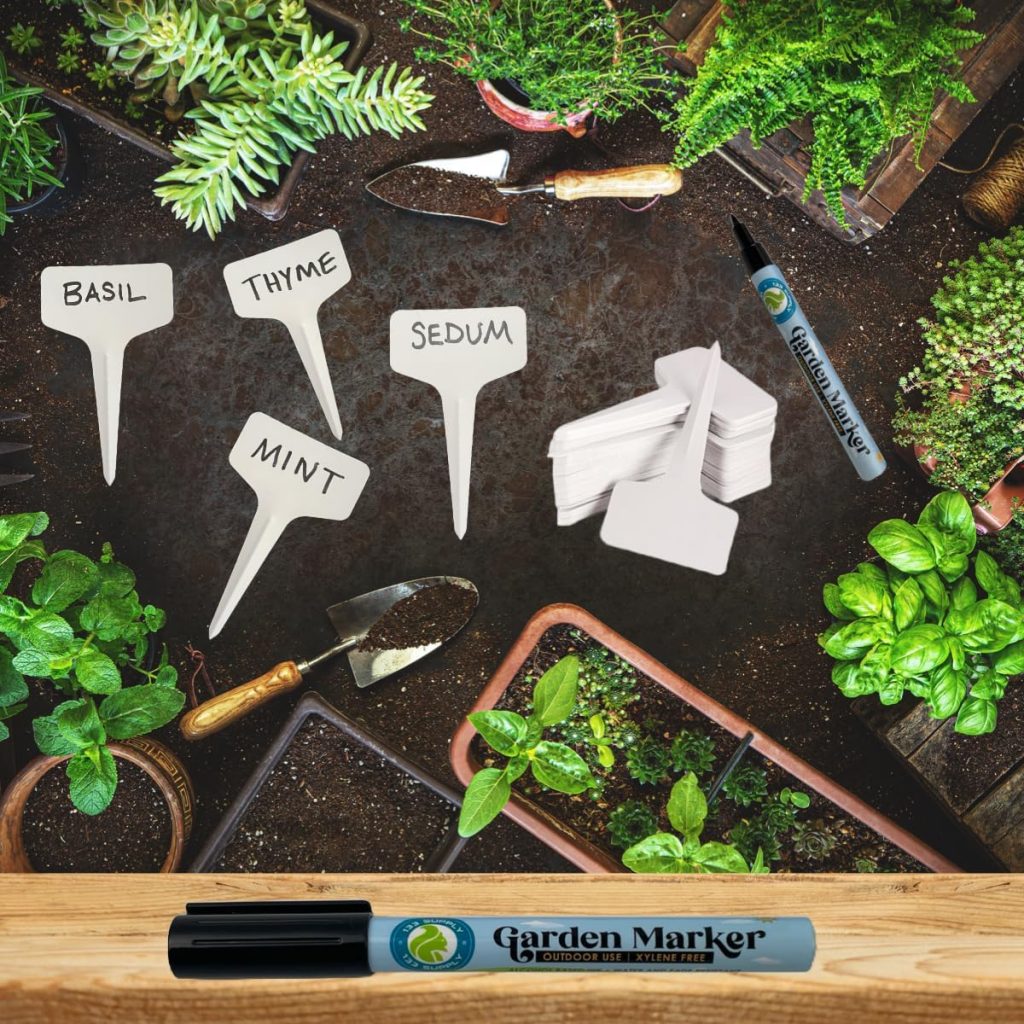
It’s easy to forget where you planted your bulbs, especially when they’re dormant. Marking your planting spots helps you avoid accidentally disturbing the bulbs during other gardening activities. Use plant markers or garden stakes to keep track of where each type of bulb is planted.
These weather-resistant plant markers from Amazon are perfect for labeling your bulbs and ensuring you remember where each one is planted. They’re durable, easy to use, and help keep your garden organized
Step 8: Protecting Your Bulbs from Pests
Bulbs are a delicious treat for many garden pests, particularly squirrels and rodents. To protect your investment, consider placing a layer of chicken wire or mesh over the planted area. This allows the bulbs to grow but prevents pests from digging them up.
Other Pest Protection Strategies:
- Plant Pest-Resistant Bulbs: Daffodils and alliums are less attractive to pests.
- Use Repellents: Natural repellents like cayenne pepper or garlic can deter pests.
- Cover with Netting: Lay netting over the soil to keep animals out.
Pro Tip: Mark your planting spots with stakes or labels so you don’t accidentally disturb the bulbs when working in the garden later.
Step 9: Waiting for Spring
Patience is key after planting your fall bulbs. As winter passes and the ground begins to warm up, your bulbs will start to sprout and grow. Depending on the species, you can expect blooms anywhere from early to late spring. Crocuses and snowdrops are usually the first to bloom, followed by daffodils, tulips, and hyacinths.
What to Expect:
- Early Spring: Crocuses, snowdrops, and early daffodils will begin to bloom.
- Mid-Spring: Tulips and hyacinths take center stage, providing vibrant colors.
- Late Spring: Alliums and late-blooming tulips round out the spring season.
Pro Tip: Fertilize the bulbs in early spring with a balanced, slow-release fertilizer to encourage strong growth and abundant blooms.
Step 10: Documenting Your Gardening Success
To track your gardening progress and learn from each season, keep a gardening journal. Document the types of bulbs you planted, their locations, and the outcomes. This can help you make adjustments in future planting seasons and improve your garden’s overall success.
This gardening journal is a wonderful tool for recording your gardening journey. It’s more than just a journal; it’s a keepsake of your garden’s evolution and your growth as a gardener.
Conclusion
Planting fall bulbs is a rewarding and simple way to ensure a colorful and vibrant garden in the spring. With careful planning, proper planting, and a little patience, even beginners can achieve stunning results. This guide has provided you with all the necessary steps to get started, from choosing the right bulbs to protecting them from pests. So grab your gloves, dig in, and get ready for a beautiful spring!
Remember, every bloom that brightens your garden in spring is a reflection of the care and attention you gave in the fall. If you’re ready to start this journey, consider these top-rated gardening gloves to protect your hands as you plant the seeds of tomorrow’s beauty.

